Using a different memory allocation library, you can reduce your Ruby application’s memory usage and response time. Learn how to use it on a hosting service (like Heroku or Scalingo) or your own server.
Ruby applications usually have a fairly large memory footprint, which can increase steadily, even if the garbage collector comes into action. Your application may consume 150MB of memory at initial launch, but will likely rise quickly beyond 300MB.
Ruby uses the C library malloc to dynamically allocate, release, and re-allocate memory, in order to store objects. However, other implementations exist such as tcmalloc or jemalloc. The latter library has proved its worth since 2005 in FreeBSD. The popular and powerful Redis has also been using it for several years. A reassuring proof of reliability.
For Ruby, using jemalloc allows you to allocate, re-use or release more efficiently the memory of your application. In production, many users have seen an increase in performance of about 10% (for Ruby code) as well as a reduced and stable memory consumption. Some people — like us — have found memory leaks reduced or even eliminated. This last case can be a real relief if you are the victim of this type of inconvenience. We went through this too!
After this article was first published in French, updown.io creator Adrien Jarthon deployed it on half of its servers and saw -29% memory consumption for the Rails app, and -46% for the Sidekiq workers.
Installing jemalloc
The most popular Ruby implementation is called Ruby MRI. Since version 2.2 it can be compiled with jemalloc instead of malloc. No patches have to be applied: only the presence of the jemalloc library on your system is required as well as a compilation flag.
On Linux, install jemalloc using your preferred package manager. For example with Ubuntu:
$ sudo apt-get update
$ sudo apt-get install libjemalloc-dev
On macOS, the easiest way is to use Homebrew to install it:
$ brew install jemalloc
Compiling Ruby with jemalloc support
With jemalloc installed you still need to compile Ruby with the appropriate flag:
$ ./configure --with-jemalloc

# Usual post-configuration commands:
$ make
$ make install
If you use a Ruby handler like rbenv or RVM you just need to prefix the install command with this:
$ RUBY_CONFIGURE_OPTS=--with-jemalloc rbenv install 2.4.0
To ensure that your Ruby uses jemalloc, run the following command:
$ ruby -r rbconfig -e "puts RbConfig::CONFIG['LIBS']"
If jemalloc is used, you should get a response close to this one:
-lpthread -ljemalloc -ldl -lobjc
The presence of -ljemalloc indicates that the library of the same name is loaded when starting Ruby.
Heroku and other platforms where you cannot compile Ruby
A large number of applications are deployed on platforms that take care of the hosting and running your Ruby applications. They take care of most of the dirty work, and it is neither necessary nor often possible to compile Ruby yourself. In this case, we must force the use of jemalloc using buildpacks.
If you do not know what buildpacks are, they are a kind of software package containing everything needed to run a program on a Linux hosting platform. There are buildpacks for Ruby, Node.js, Scala, Java, PhantomJS, and so on.
The jemalloc buildpack
A buildpack does not necessarily contain an executable program. Like Linux packages, it may only contain a C library, for example.
This is where the heroku-buildpack-jemalloc buildpack from Seth Fitzsimmons comes in handy. It contains jemalloc precompiled for Linux x86 and stored in /app/ vendor/jemalloc/lib/libjemalloc.so.1. This makes it easily accessible by Ruby MRI.
The jemalloc buildpack must be loaded before the Ruby buildpack. You need to configure your platform to use both buildpacks simultaneously.
Configuring multiple buildpacks on Heroku
Heroku natively supports multiple buildpacks. Start by setting the default buildpack of your Ruby application if that’s not already the case:
$ heroku buildpacks: set heroku/ruby
Next, add the jemalloc buildpack to the first position:
$ heroku buildpacks: set https://github.com/mojodna/heroku-buildpack-jemalloc
Configuring multiple buildpacks on Scalingo
Heroku made buildpacks immensely popular. Other platforms have followed the same philosophy. We have been using Scalingo for a few years now. This French platform-as-a-service (PaaS) hosting provider very similar to the American giant and keeps adding useful feature like clockwork.
Scalingo only allows one buildpack to be defined for an application, so we have to cheat a little by using the multi-buildpack buildpack. When in use, he will load several buildpacks, one after the other.
To use it, run this command:
$ scalingo env-set BUILDPACK_URL = https: //github.com/Scalingo/multi-buildpack.git
Then create a .buildpacks file at the root of your application and list the buildpacks to use:
https://github.com/mojodna/heroku-buildpack-jemalloc
https://github.com/Scalingo/ruby-buildpack
When deploying your container, Scalingo will search for this file and load each buildpack sequentially.
Starting your Ruby application with jemalloc
The jemalloc buildpack contains a shell script named jemalloc.sh. The author recommends prefixing your usual Ruby command line with it. For example, to launch the Puma web server, we would use:
$ jemalloc.sh bundle exec puma
Using this script has its issues, beside the looks. Your server configuration becomes specific and dependent on this buildpack’s script. The same puma command will not work on a platform thats does not include the script. On your development platform it will probably not be available either. That would pose a problem if you want to use Foreman to test your Procfile, for example.
One of our applications is deployed continuously on 4 different PaaS, 3 of which use the same Procfile file to start the Ruby application. We need to use the exact same configuration everywhere, in the same Procfile, so we cannot apply specific optimizations for Heroku or Scalingo in there.
The solution we need follows the 12factor methodology by storing the configuration in the environment. We’ll still be able to tell Ruby to load and use jemalloc, but the command line won’t change.
The LD_PRELOAD environment variable is looked up by MRI to determine which additional libraries it needs to preload. If the jemalloc lib is present, it will use it instead of malloc. It will work with bundle exec ruby as well as with a gem executable such as rubocop orsidekiq.
jemalloc on Heroku
Adding an environment variable can be done using the web interface:

It can be faster to do it using the command line:
$ heroku config: set LD_PRELOAD=/app/vendor/jemalloc/lib/libjemalloc.so.1
You can now restart you application and, if everything works as planned, enjoy a reduce memory footprint.
jemalloc on Scalingo
The Scalingo dashboard can be used to edit a variable, or all of them at once:
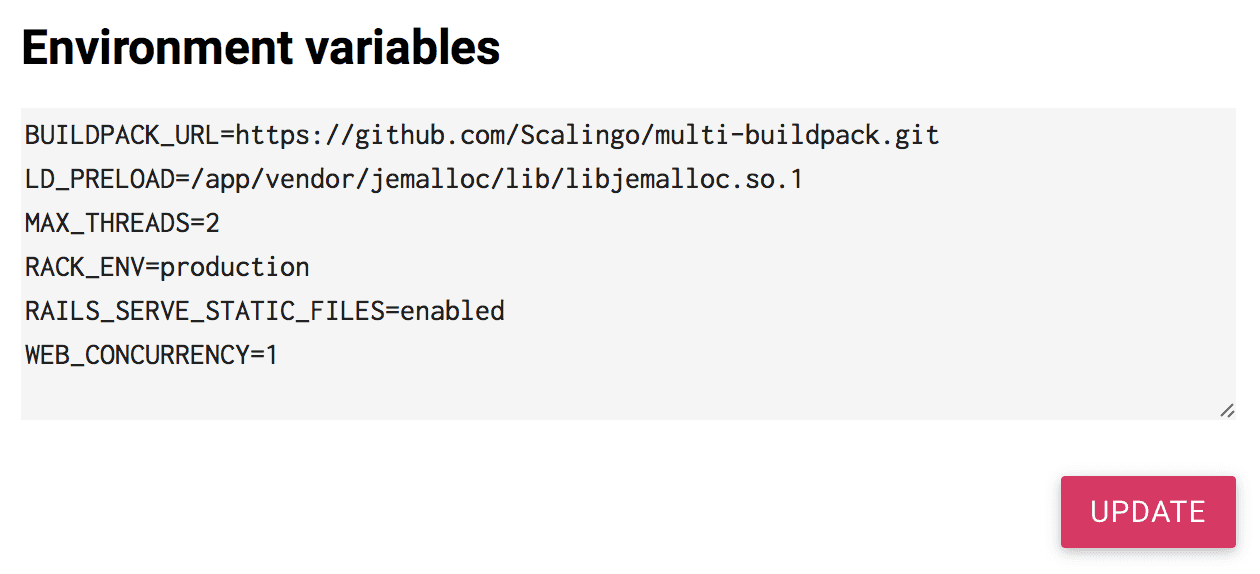
You can set the using the CLI tool:
$ scalingo env-set LD_PRELOAD=/app/vendor/jemalloc/lib/libjemalloc.so.1
Restart your application’s container to benefit from this enjoyable optimization.
Personal experience (s) in production
Our most complex application (over 100 gems, 160 MB at startup) consumed about 500 MB per worker Puma after processing a tens of thousands of heavy requests. To avoid saturating our server’s memory, Puma and Sidekiq workers had to be regularly killed and restarted.
With 2.3 and 2.4 compiled with jemalloc, we measured a memory consumption stabilized at about 350 MB. Response times dropped by a few percents and the number of “abnormally slow requests” alerts where largely reduced too.
We reiterated the experience with other applications: a lightweight Ruby app in a 512 MB container and a heavier home-made Rails-based CMS in a 2 GB container. The swap is now almost never used as the containers stopped exceeding their allocated resources. Response times have also slightly improved on the CMS.
The jemalloc gem: a non-working alternative
We also tried the jemalloc gem, a project that no longer seems to be maintained since its last activity was in January 2015. We did not manage to make it work. Also, it presents the same usage complexity as the jemalloc.sh script: all command lines have to be prefixed with bundle exec je.